Last but not least, here is the flash animation storyboard, each frame lasts for about 2 seconds:
Tuesday, 1 February 2011
Flash Animation
Last but not least, here is the flash animation storyboard, each frame lasts for about 2 seconds:
Textures, Textures and more Textures!
All of the textures used in the lamp scene were created by me, except for one, which was the door texture, which i found on google (forgot the link), but I applied my own wood grain texture over the top of it and made it much darker than it originally was. The metal parts of the original were also removed and changed to wood instead.
Anyway, heres the textures listed in no particular order, a little description can be found in the caption beneath each of them:
The next few textures might look a bit weird, but they are actually normal maps. Normal maps are used by certain effects in Maya (and in a lot of modern games) to give objects the appearance of bumps, grooves or any kind of fine detail that would take way too much time model by hand (i.e. the individual grains and knots in wood). These textures can be made easily in photoshop with a plugin called NVidia Normal Map Filter, which can generate normal maps for any kind of image you wish.
And thats all of them. Enjoy!
Anyway, heres the textures listed in no particular order, a little description can be found in the caption beneath each of them:
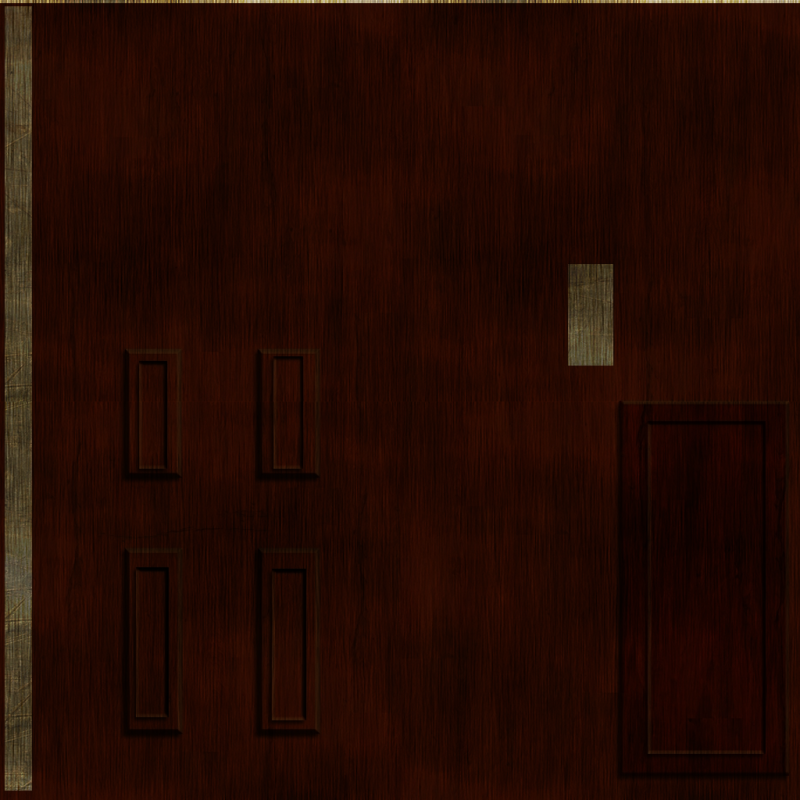 |
| Door texture |
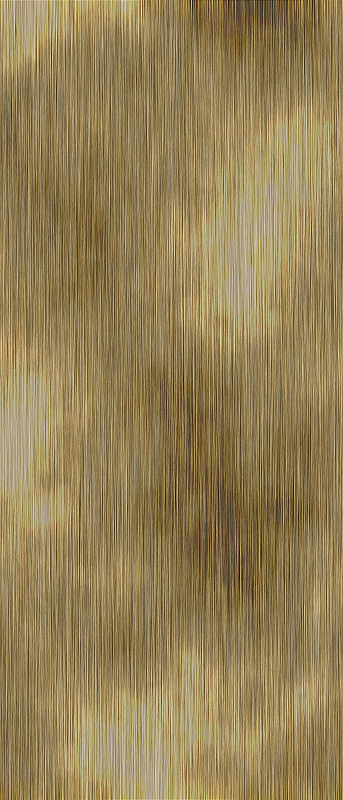 |
| Wooden skirting board and shelf texture |
 |
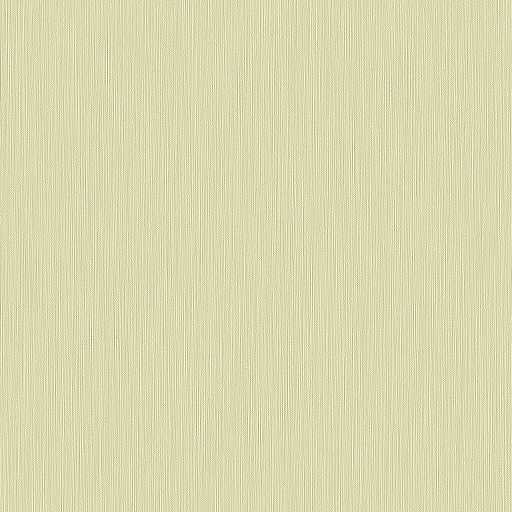
| Wall texture |
 |
| Window texture - this never made it into the final scene |
 |
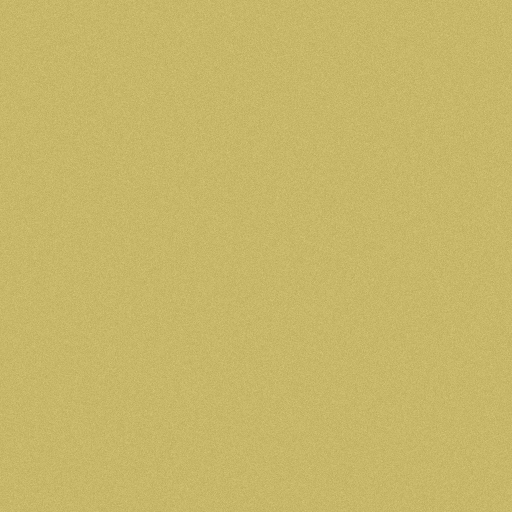
| Sofa texture - basically, just a black texture with some noise on it |
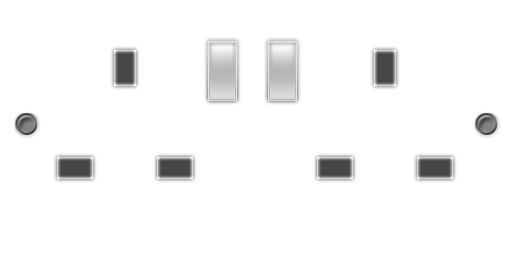 |
| Wall socket |
 |
| Carpet Texture - A red texture with noise applied to it. |
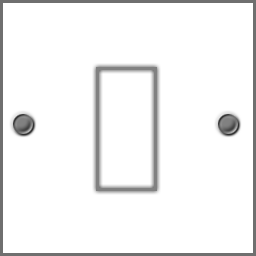 |
| Light switch |
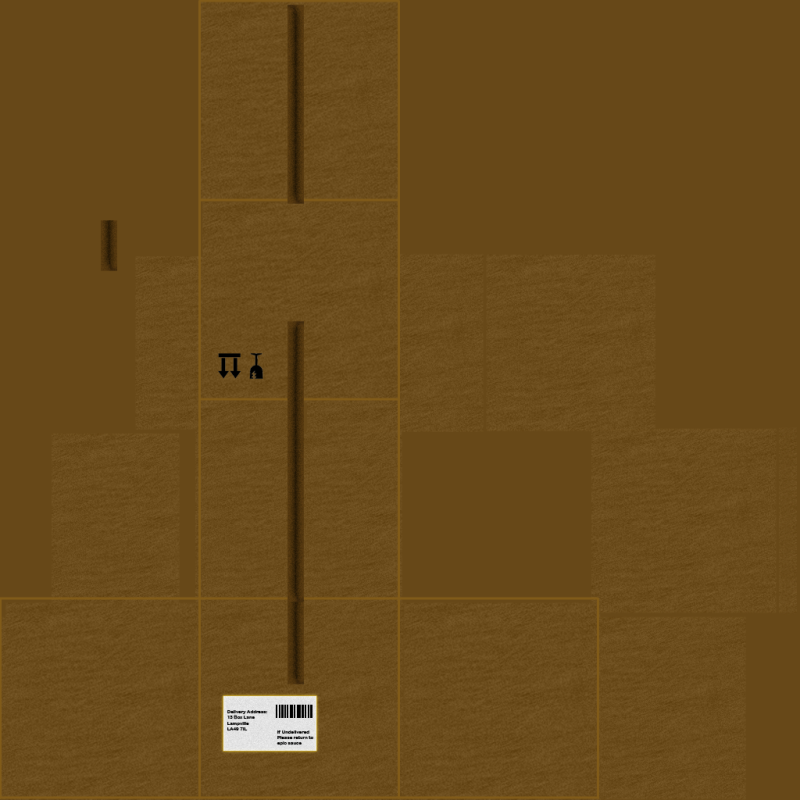 |
| Box texture with a postage label on the side of it |
 |
| A variation of the previous box texture, without the postage label on it |
 |
| Vertical blinds texture |
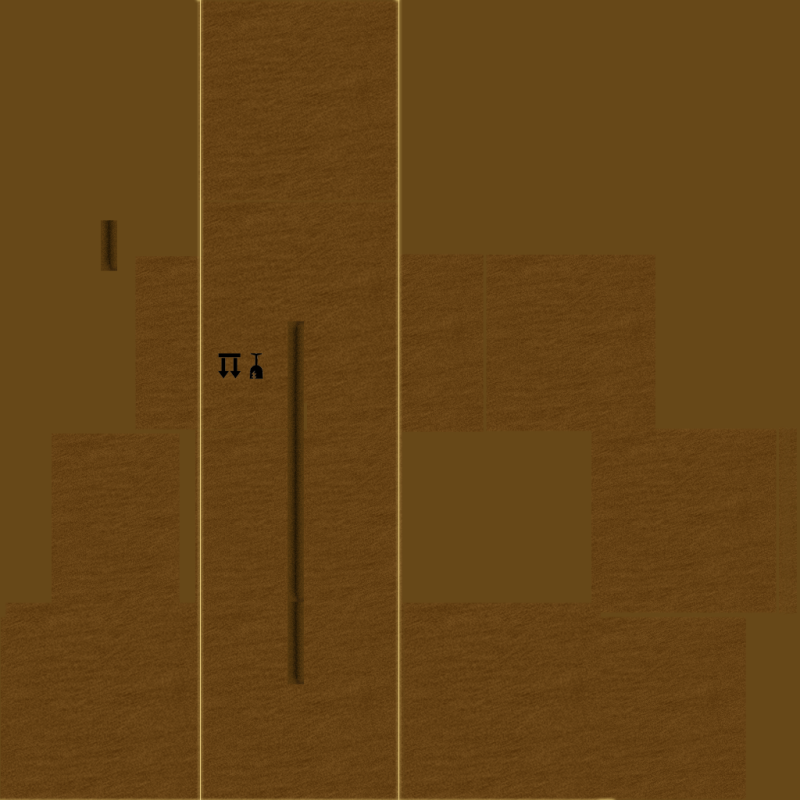 |
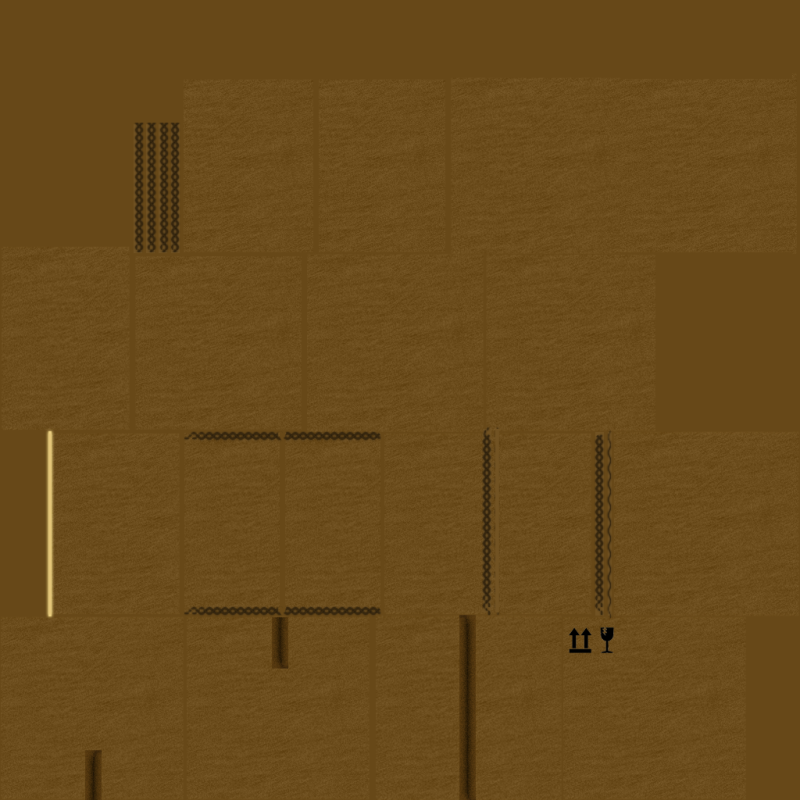
| Another variation of the box textures. This one was for the sealed boxes. |
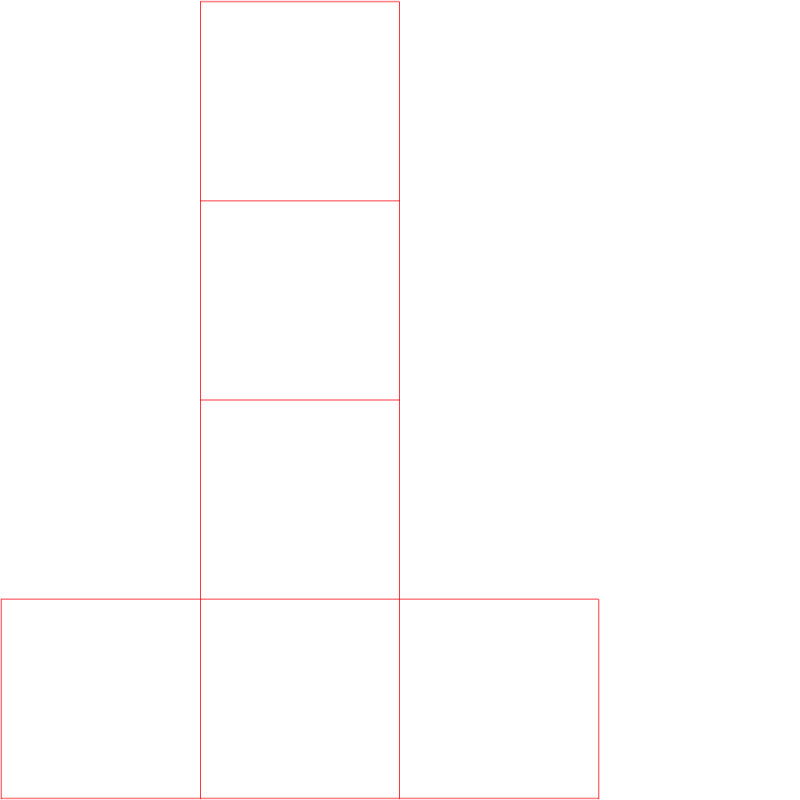 |
| UV Template for the second box texture (directly above this one) |
 |
| UV template for brown table next to the sofa, which ended up with a brown blinn effect instead. |
The next few textures might look a bit weird, but they are actually normal maps. Normal maps are used by certain effects in Maya (and in a lot of modern games) to give objects the appearance of bumps, grooves or any kind of fine detail that would take way too much time model by hand (i.e. the individual grains and knots in wood). These textures can be made easily in photoshop with a plugin called NVidia Normal Map Filter, which can generate normal maps for any kind of image you wish.
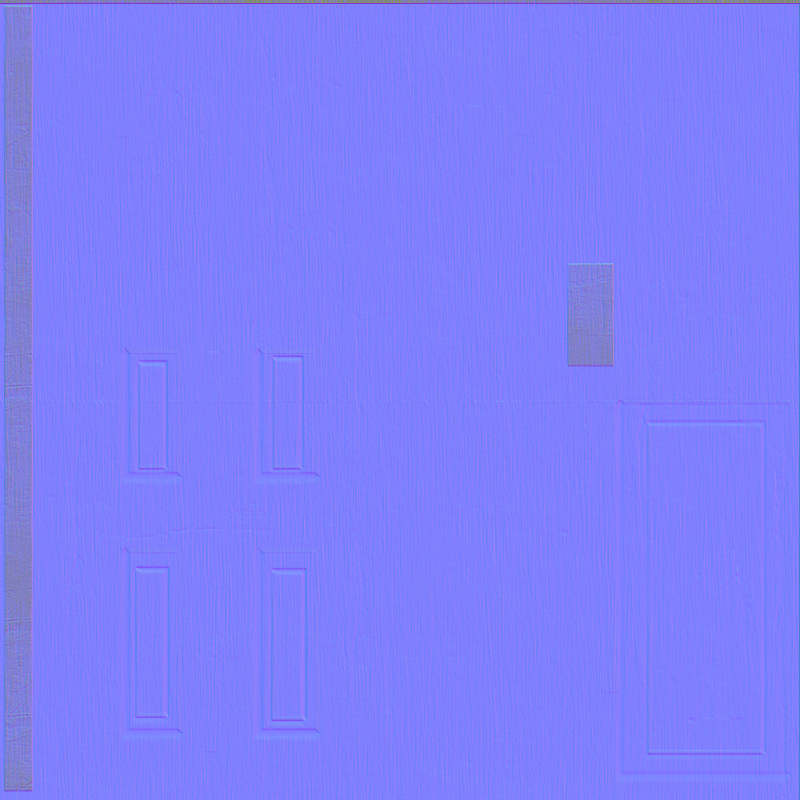 |
| Door normal map texture |
 |
| Carpet normal map - I removed this from the scene, because it made the carpet look more like red metal |
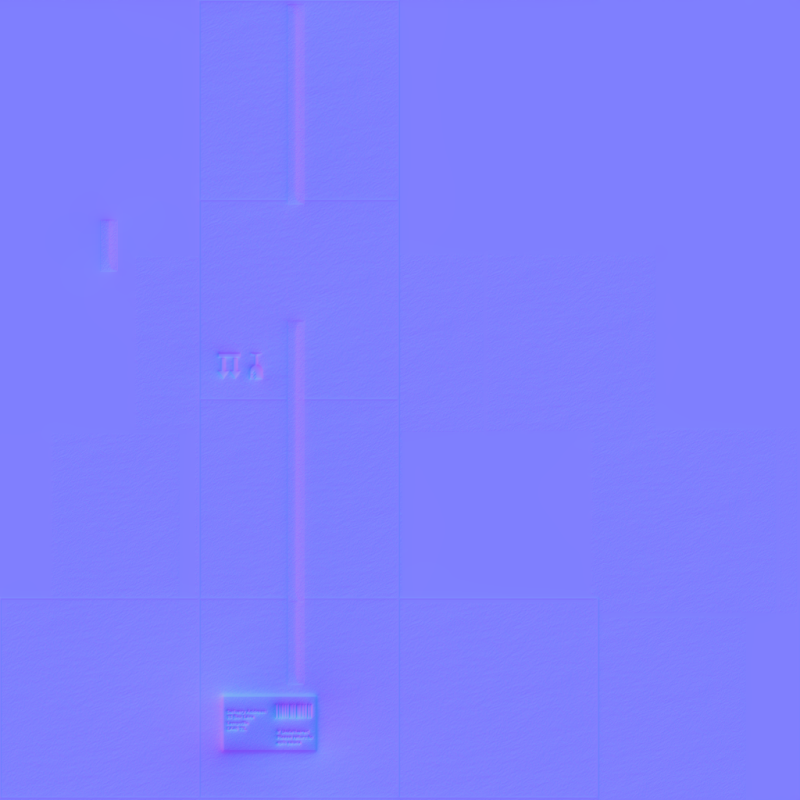 |
| Box normal map - this was for the box with a postage label on the side. |
And thats all of them. Enjoy!
Textures, Textures and more Textures!
All of the textures used in the lamp scene were created by me, except for one, which was the door texture, which i found on google (forgot the link), but I applied my own wood grain texture over the top of it and made it much darker than it originally was. The metal parts of the original were also removed and changed to wood instead.
Anyway, heres the textures listed in no particular order, a little description can be found in the caption beneath each of them:
The next few textures might look a bit weird, but they are actually normal maps. Normal maps are used by certain effects in Maya (and in a lot of modern games) to give objects the appearance of bumps, grooves or any kind of fine detail that would take way too much time model by hand (i.e. the individual grains and knots in wood). These textures can be made easily in photoshop with a plugin called NVidia Normal Map Filter, which can generate normal maps for any kind of image you wish.
And thats all of them. Enjoy!
Anyway, heres the textures listed in no particular order, a little description can be found in the caption beneath each of them:
|
| Door texture |
|
| Wooden skirting board and shelf texture |
|
| Wall texture |
|
| Window texture - this never made it into the final scene |
|
| Sofa texture - basically, just a black texture with some noise on it |
|
| Wall socket |
|
| Carpet Texture - A red texture with noise applied to it. |
|
| Light switch |
|
| Box texture with a postage label on the side of it |
|
| A variation of the previous box texture, without the postage label on it |
|
| Vertical blinds texture |
|
| Another variation of the box textures. This one was for the sealed boxes. |
|
| UV Template for the second box texture (directly above this one) |
|
| UV template for brown table next to the sofa, which ended up with a brown blinn effect instead. |
The next few textures might look a bit weird, but they are actually normal maps. Normal maps are used by certain effects in Maya (and in a lot of modern games) to give objects the appearance of bumps, grooves or any kind of fine detail that would take way too much time model by hand (i.e. the individual grains and knots in wood). These textures can be made easily in photoshop with a plugin called NVidia Normal Map Filter, which can generate normal maps for any kind of image you wish.
|
| Door normal map texture |
|
| Carpet normal map - I removed this from the scene, because it made the carpet look more like red metal |
|
| Box normal map - this was for the box with a postage label on the side. |
And thats all of them. Enjoy!
Small Things
So, after spending the last 4 hours figuring how to compress a 2.2gb AVI video down to something more realistic, I've done it!
The tool I used was called Oxelon media converter (free to use), which allowed not only me not only shrink the file down to 9mb (yeah seriously) and keep a decent amount of quality, but convert it to MOV format too. I always wondered how they did those 100mb HD movie trailers that were over two times longer than my animation, but now I know. =D
Also, since it was small enough to upload to youtube, heres the finished version:
Subscribe to:
Comments (Atom)