
Saturday, 29 October 2011
Sluggy Rigging
Its took a while, but I've finally got the rigging done for the slug's body. he can now slug along happily when the times. Although his mouth can't move and he can't blink yet.

Monday, 17 October 2011
Paint effects and more progress!
Just posting a few renders I've made over the last few days which I forgot to upload earlier. But first, an update on the environment for my animation project:

This render of a cherry tree was made a few days ago when I was trying out the tree paint effects:

Another paint effects render using the galaxy brushes:

Some cheeseburgers.. mmmm:

Laser paint effects:

A quick render test of the plant pot model for my animation project:

Another render test from a few days ago of the slug character before the eyes were added:

A test render of the skyscraper/city paint brush effects:

Sunday, 16 October 2011
Environment Render Test
I've spend part of today getting started on the environment that will contain the plant pot and slug.
I was originally going to make the character a worm, but switched it to a slug instead. Slugs are a little easier to characterize than a worm in my opinion, since they have two pointy eyes which can be helpful when showing emotion, whereas a worm just has, well nothing except a mouth.
Here is a render of the environment so far:

Thursday, 6 October 2011
A new year! A new project!
Its been a while. I've just started back on the third and final year of my course and began a new animation project.
Right now I have a basic idea for an animation involving a worm and a plant pot full of soil. The worm will play around with the pot and investigate it, like a child with a new toy, in the back garden of a house in an undisclosed location.
My rough timetable for production so far is something like:
6th October - quick sketch of ideas in the form of storyboards
9th - 10th October - first draft of the chosen idea in the form of a more refined storyboard
11th - 15th October - Start working on the worm character model in Maya 2012.
16th - 18th October - Render a few animation test scenes of the worm and refine the model and fix any problems with its rig (if any)
19th - 25th October - Work on the exterior environment in which the worm and plant pot will be situated.
26th - 28th October - Create the plant pot model
29th October - 6th November - Collect and Create any textures that will be needed for the animation/scene
7th - 13th November - Texture worm character, plant pot and environment
14th - 20th November - Render tests and texture adjustment. This will basically be me trying to sort out any messy/bad textures. :p
21st - 27th November - Addition of soil and dust particles. These would be used for when the worm burrows out of the ground at the start of the scene and when the plant pot gets knocked over by the worm, causing the soil to flow/fall out of it.
28th - 4th December - Another week for adjustments and fixing any problems with the scene.
5th December and onwards - Post production, tweaking and refinement. This also leaves plenty of time to add any extra detail if needed or fix anything that comes up in the final render of the animation.
I already have a few sketches made of my initial ideas, so you can expect to see those scanned and uploaded here sometime this weekend. I've made set the timetable realistically, giving plenty of time for each stage of the process, but hopefully I can stay a little ahead of it to give me some breathing room for anything bad that might happen during the final render, like last year. :)
Tuesday, 1 February 2011
Flash Animation
Last but not least, here is the flash animation storyboard, each frame lasts for about 2 seconds:
Flash Animation
Last but not least, here is the flash animation storyboard, each frame lasts for about 2 seconds:
Textures, Textures and more Textures!
All of the textures used in the lamp scene were created by me, except for one, which was the door texture, which i found on google (forgot the link), but I applied my own wood grain texture over the top of it and made it much darker than it originally was. The metal parts of the original were also removed and changed to wood instead.
Anyway, heres the textures listed in no particular order, a little description can be found in the caption beneath each of them:
The next few textures might look a bit weird, but they are actually normal maps. Normal maps are used by certain effects in Maya (and in a lot of modern games) to give objects the appearance of bumps, grooves or any kind of fine detail that would take way too much time model by hand (i.e. the individual grains and knots in wood). These textures can be made easily in photoshop with a plugin called NVidia Normal Map Filter, which can generate normal maps for any kind of image you wish.
And thats all of them. Enjoy!
Anyway, heres the textures listed in no particular order, a little description can be found in the caption beneath each of them:
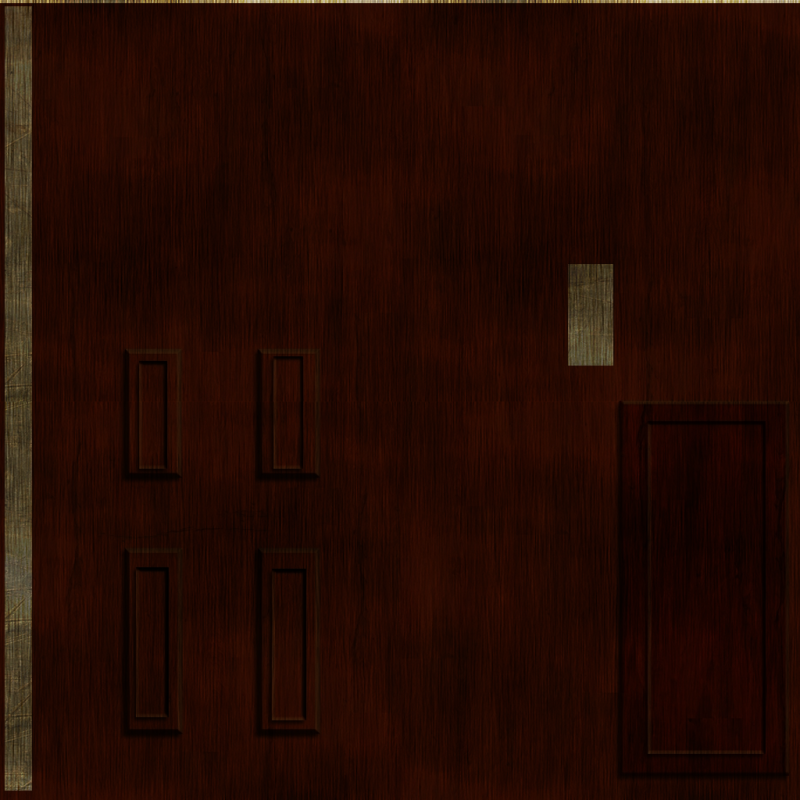 |
| Door texture |
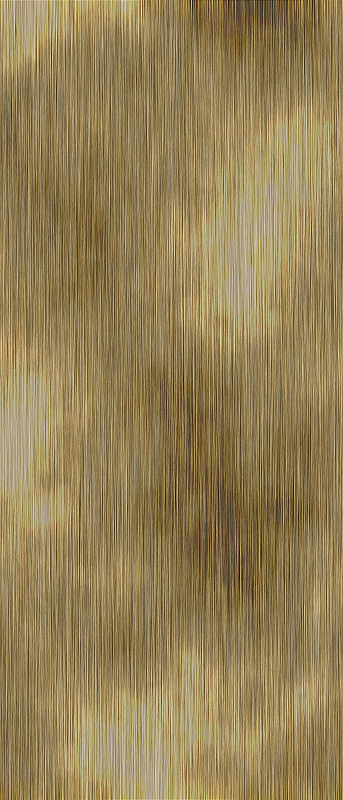 |
| Wooden skirting board and shelf texture |
 |
| Wall texture |
 |
| Window texture - this never made it into the final scene |
 |
| Sofa texture - basically, just a black texture with some noise on it |
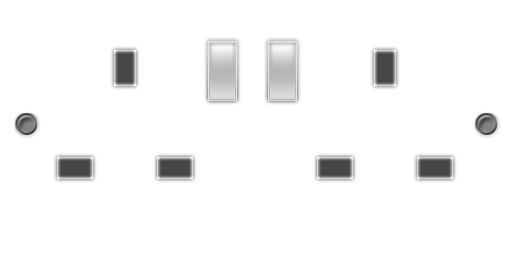 |
| Wall socket |
 |
| Carpet Texture - A red texture with noise applied to it. |
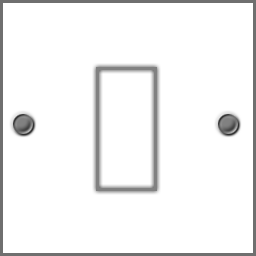 |
| Light switch |
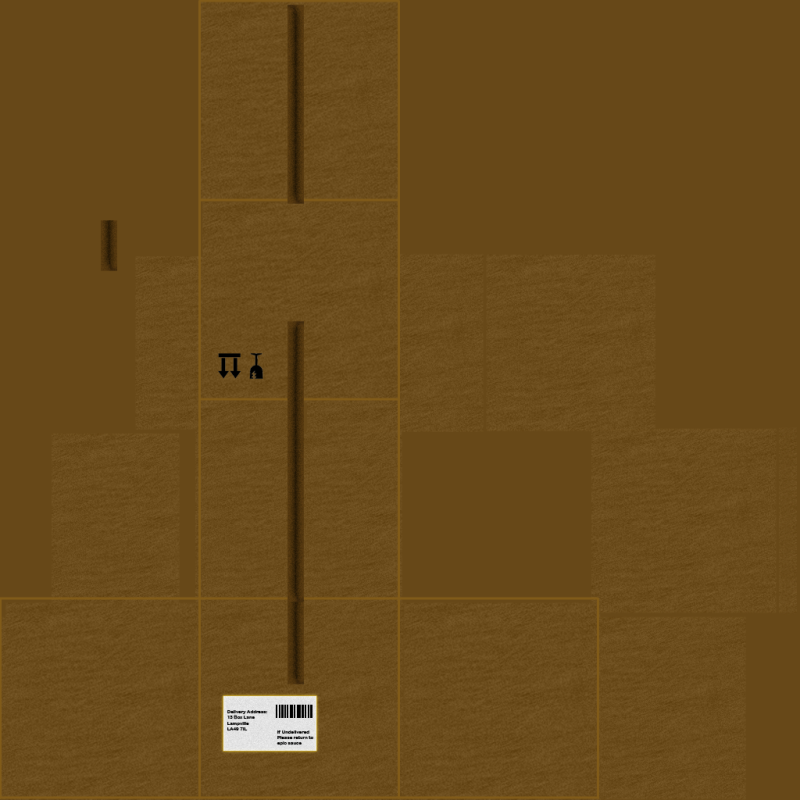 |
| Box texture with a postage label on the side of it |
 |
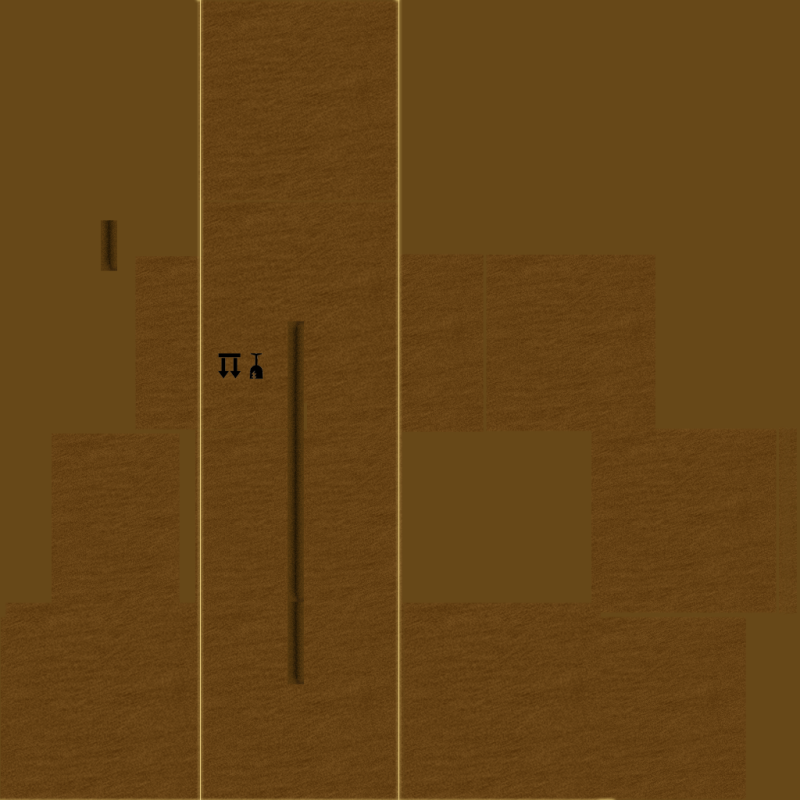
| A variation of the previous box texture, without the postage label on it |
 |
| Vertical blinds texture |
 |
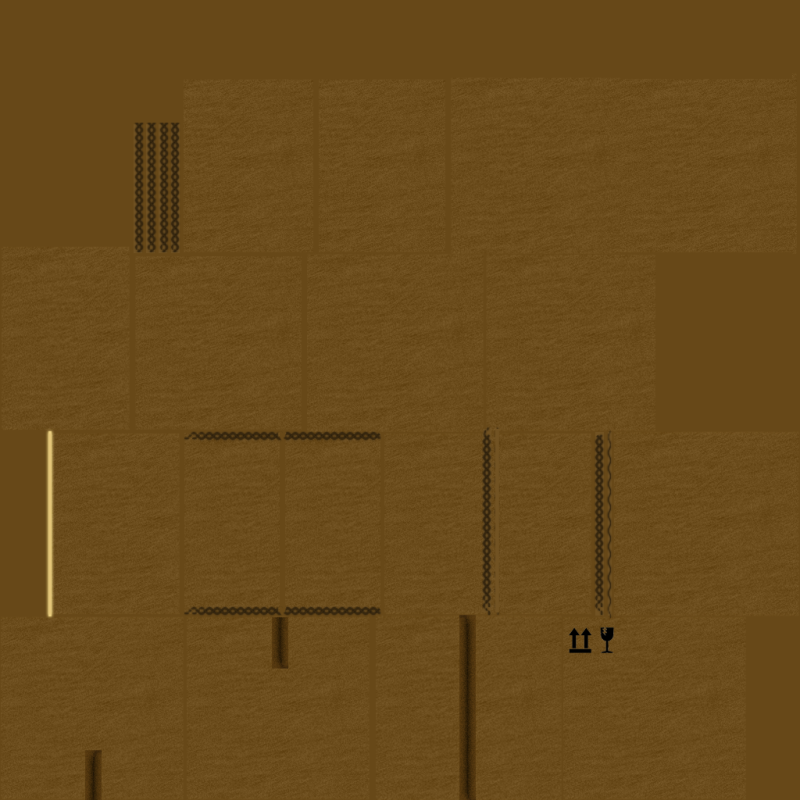
| Another variation of the box textures. This one was for the sealed boxes. |
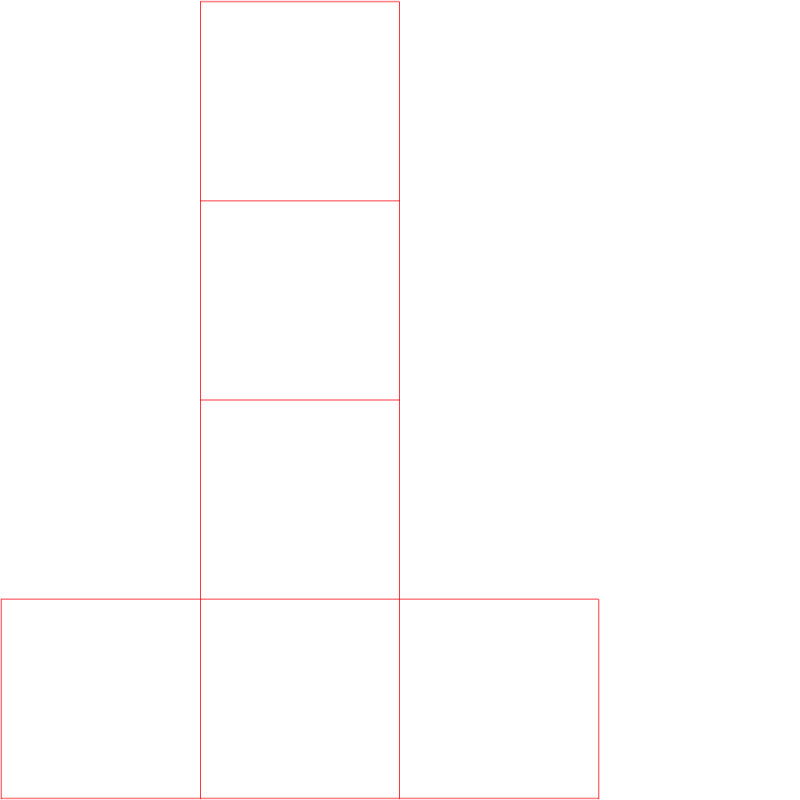 |
| UV Template for the second box texture (directly above this one) |
 |
| UV template for brown table next to the sofa, which ended up with a brown blinn effect instead. |
The next few textures might look a bit weird, but they are actually normal maps. Normal maps are used by certain effects in Maya (and in a lot of modern games) to give objects the appearance of bumps, grooves or any kind of fine detail that would take way too much time model by hand (i.e. the individual grains and knots in wood). These textures can be made easily in photoshop with a plugin called NVidia Normal Map Filter, which can generate normal maps for any kind of image you wish.
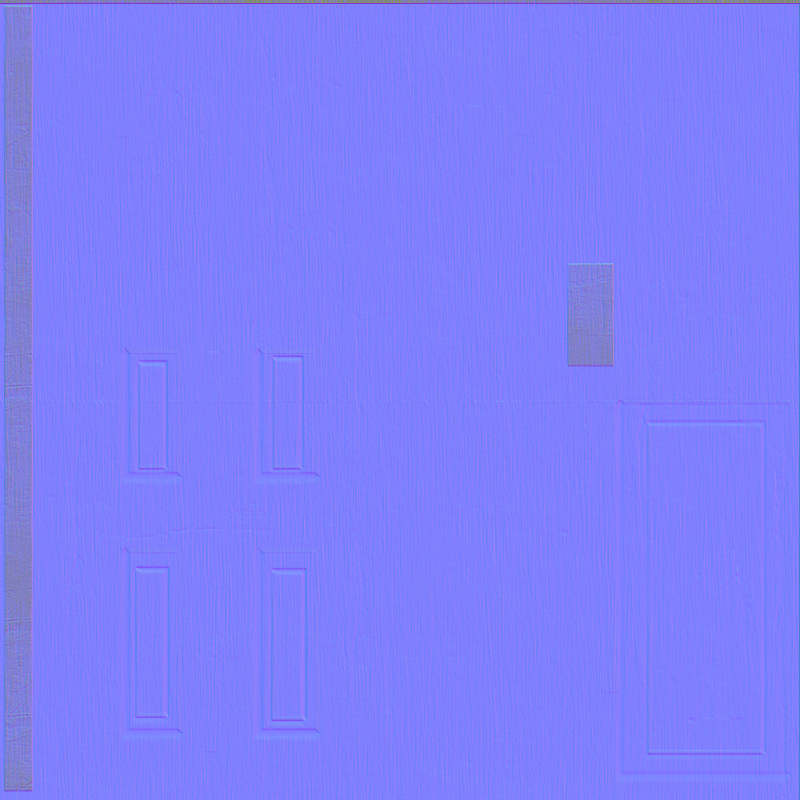 |
| Door normal map texture |
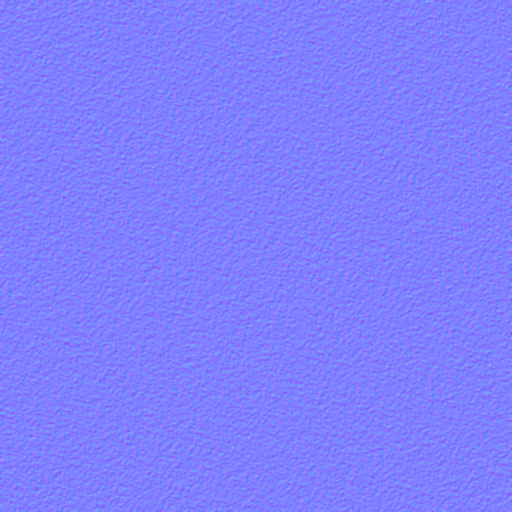 |
| Carpet normal map - I removed this from the scene, because it made the carpet look more like red metal |
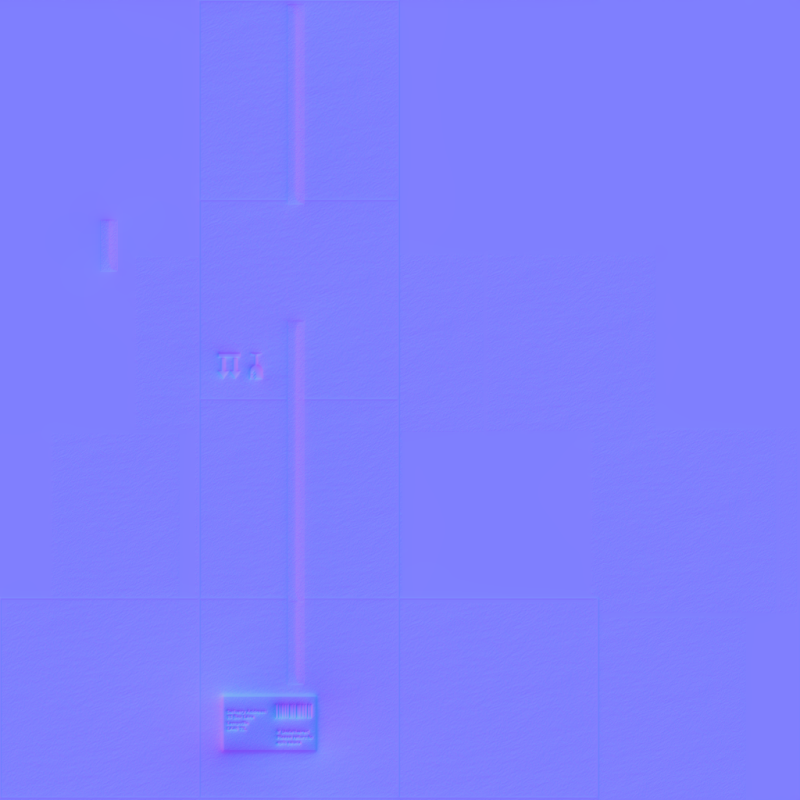 |
| Box normal map - this was for the box with a postage label on the side. |
And thats all of them. Enjoy!
Subscribe to:
Comments (Atom)